You are viewing an old version of this page. View the current version.
Compare with Current
View Page History
« Previous
Version 6
Next »
Audience: School Test CoordinatorsFor districts not providing course and class data via a data sync, this data can be manually loaded into LaunchPad by those with administrator access. At this time courses and classes must be created individually; bulk upload will be available soon. Academic Sessions must be set up before creating courses.
To create a new course:
- From the LaunchPad Pearson administrator login page, log in with your LaunchPad user account credentials. For account access inquiries, please contact your Pearson delivery team.
- Under the Roster Data header, click Courses.
- In the Actions menu (top right), select Create New Course.
- Fill in fields.
- Click Save Course.
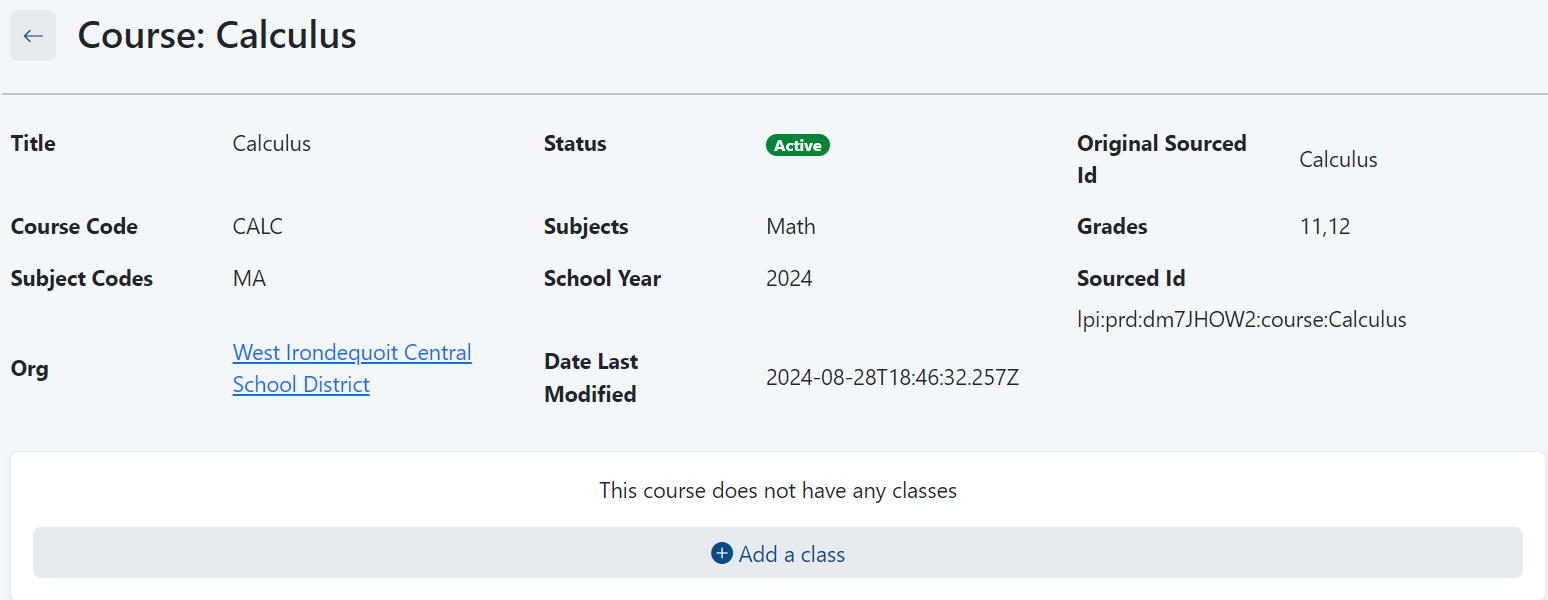
- Optionally, create classes for this course before creating additional courses.
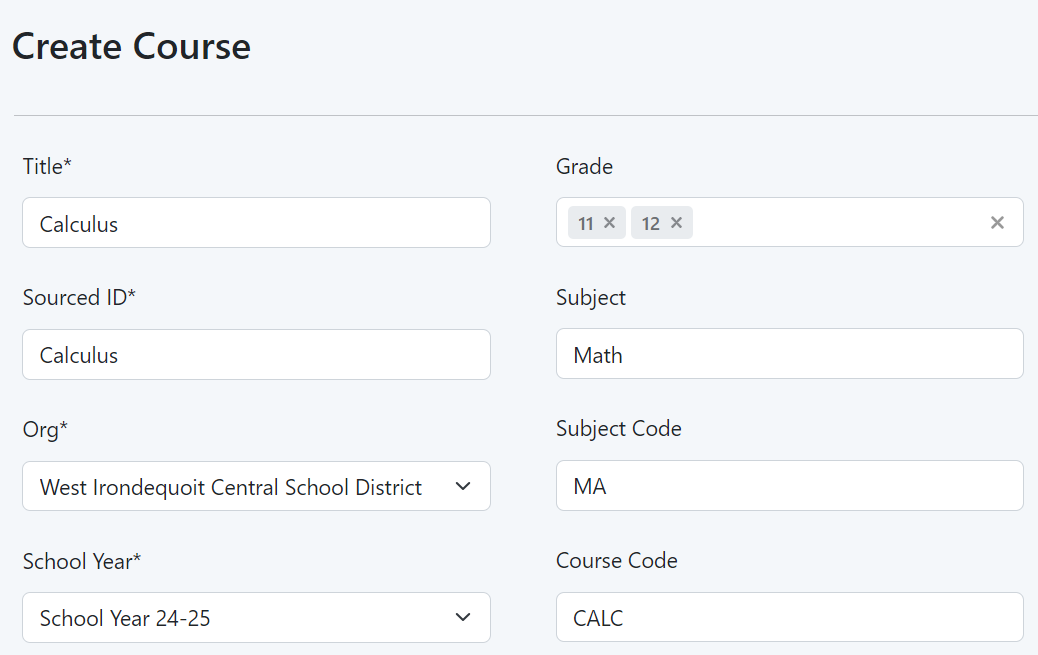
Sample Create Course page
- Fill in the required fields to create the user(s). For ease of use, the username and the email address can be set to the same value, all lowercase. The identifier and sourcedId value can be set to the user email as well, if that is desirable. These are all required fields, but their values can be the same.
Click Save Changes to create the new user.
- Once the record is saved, the page will refresh to show the saved user.
Important note: this user record must sync to the respected assessment platform (ADAM, Navvy) before the user can successfully access the app. Contact the LaunchPad support team for assistance in pushing this data ahead of the nightly schedule, if necessary.
- Once the user is represented in the respective assessment platform, you can take on the very last step of sending login information to the new user:
- Make sure the User Detail page for this user is open. The User Detail page will look similar to what shows below:
- From the User Detail page, click the actions button in the top left, and select the “Send Welcome Email” option.
Note: If this ‘send welcome email’ option does not appear, it means that LaunchPad authentication has not been configured for this LaunchPad client. Please reach out to launchpad@pearson.com if you need further assistance to set this up.
- Upon clicking the “Send Welcome Email” option, an email will be sent to the user’s email address. This email will notify the user of their username, and offer the user a pathway to set their account password. The “Set Password” link is active for 5 days, after which time a new welcome email must be sent.
- Once the user has successfully set a password, they can log into LaunchPad through this URL:
https://Launchpad.pearson.com. The page will require them to first select their Client Name;* from there, they will be redirected to their client login page where they can type in their username and password.
*Client selection is saved in the user’s browser cache and will not need to be repeated each time for login
Tiny Link: https://support.assessment.pearson.com/x/2QE-CQ