Users who have rights to create proctor groups can edit which students, if any, are in a proctor group. Students testing on paper do not need to be in a proctor group.
To edit proctor group membership:
- Go to Test Management > Administrations. See also: View Students in an Administration or Proctor Group
- Filter as needed to locate the Administration Card.
- In the Proctor Group menu, select View.
- For the desired proctor group, click Students.
- Select the Edit Proctor Group link.
Classic User Interface:
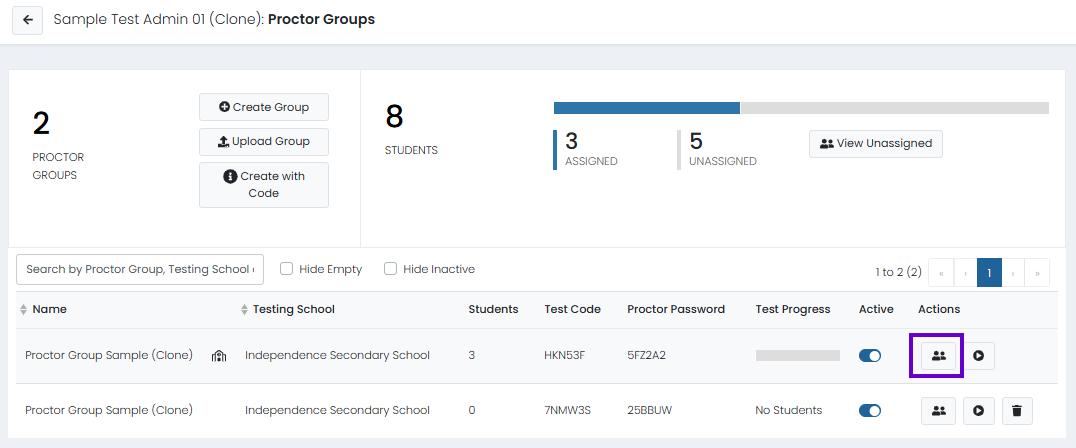
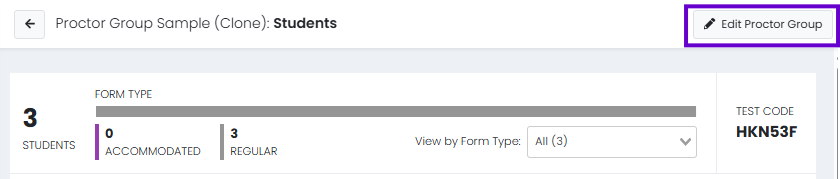
Updated User Interface:
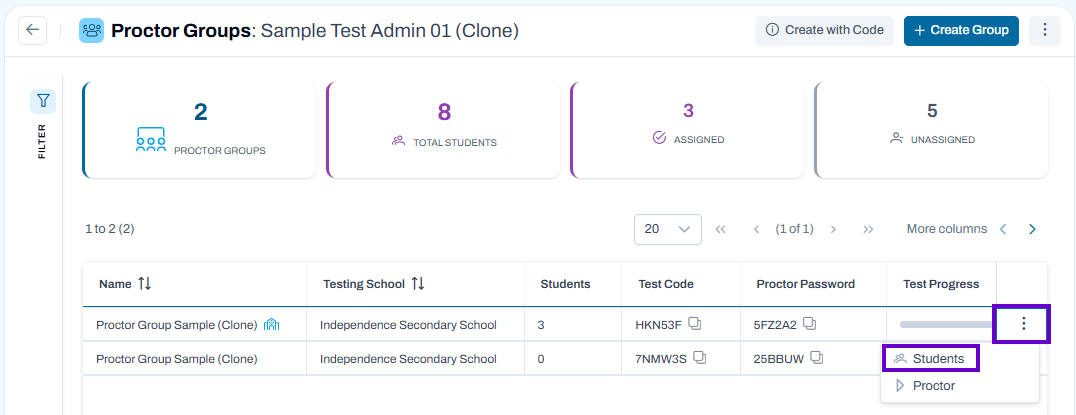

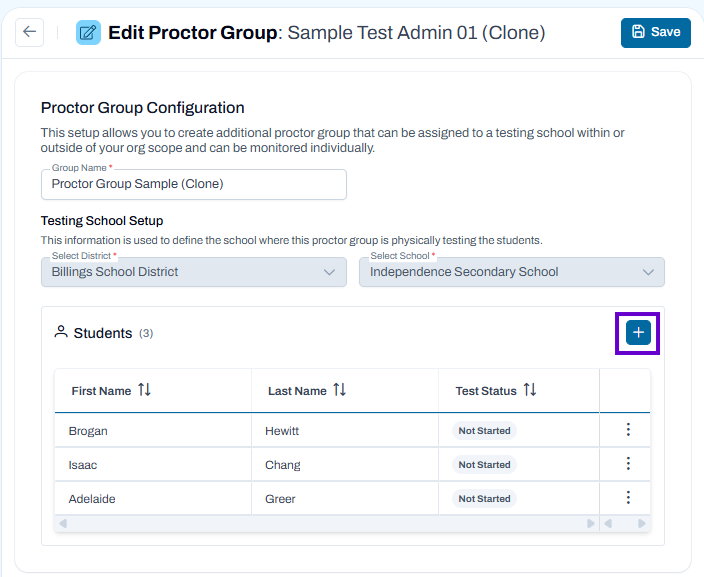
- In the Students area, you can remove any student from the group by selecting delete. Note that adding a student to a new group will automatically remove them from their original group.
- To add a student, select the plus icon next to the Students header. An icon to the left of the student name indicates a student who is already in a proctor group – adding them to the new group will automatically remove them from the old group.
- Search by student or click Show additional filters to locate multiple students.
- Select the Add icon for any student who should be added to the group, and then click Close.
Classic User Interface:
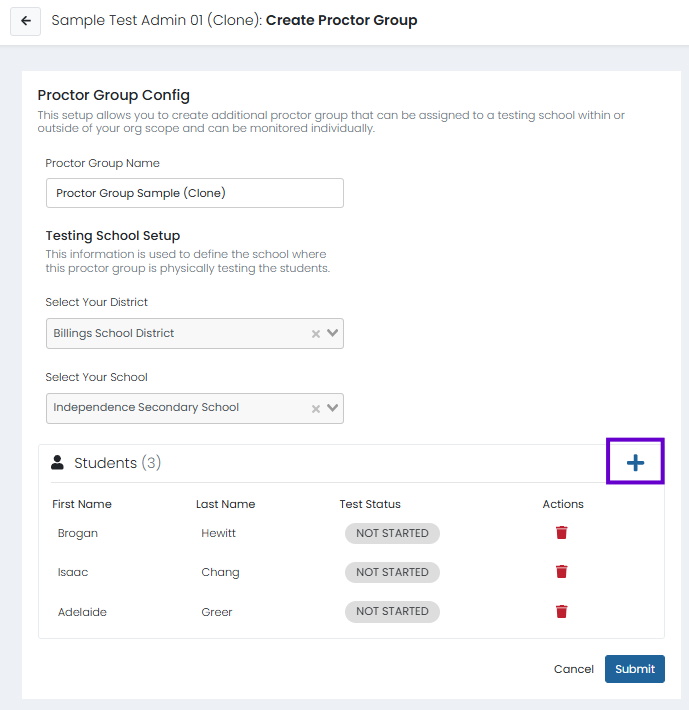
Updated User Interface:
10. Select Submit to save your changes.
Tiny Link: https://support.assessment.pearson.com/x/OwCKCQ